Creating A Sale
Table of Contents
The Create A Sale feature in Bevy Sales Rules allows us to instantly create a storewide sale by discounting prices of items in our Shopify store inventory in bulk. With this feature, we can launch festive and seasonal sales in an instant!
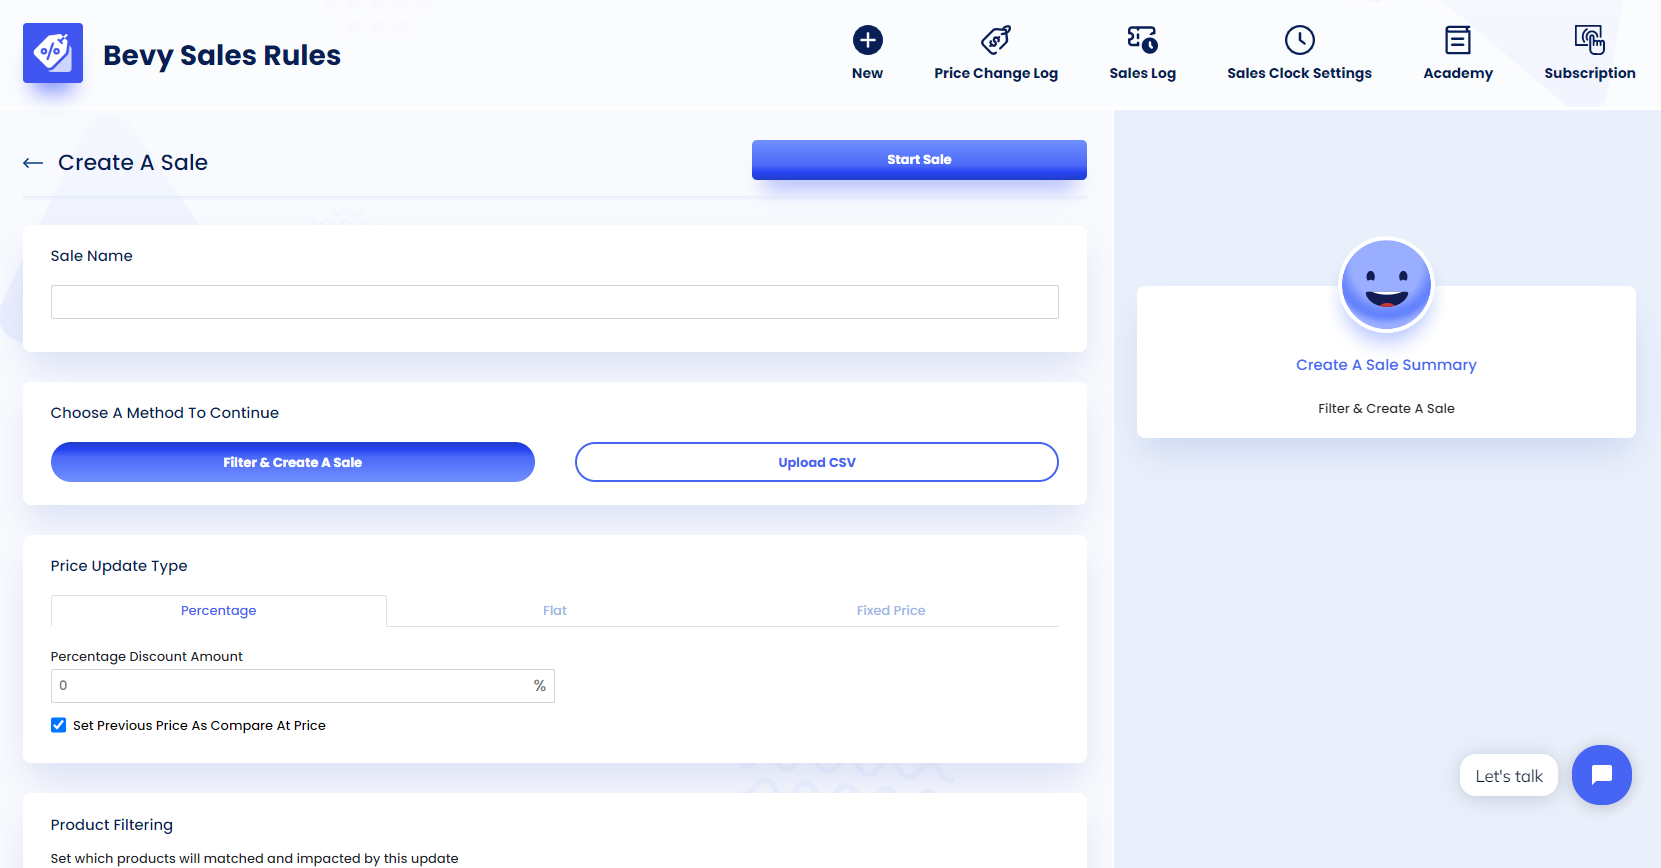
To access the Create A Sale feature, we have to go to the Bevy Sales Rules Dashboard and we’ll be presented with two options. Clicking on Create A Sale will allow us to access the different options for creating sales throughout our store.

Filter & Create A Sale
Using the Filter & Create A Sale option, we can create instant storewide sales in our store.
- Step 1: Set a name for the sale to keep track of it later in the Log.
- Step 2: Go to the Price Update Type option to set the discount amount. For more details, you read our article on Sales Discount Updating.
- Step 3: Use Product Filtering to filter through items in the inventory and select the products that we would like to have in the sale. More details can be found in our article on Product Filtering.
Note:
If we are on a FREE plan, we can select up to 15 products to put on sale in total and apply filter criteria that include 15 products at maximum. For instance, if we put 10 products in our current sale, we can put 5 products in the next sale. To select more than that we have to upgrade our plan.
- Step 4: Schedule when the sale should start and end using the Scheduling option. Also, we can choose to start it right away by clicking on the Start Right Now toggle. Visit our article on Sale Scheduling to learn more.
- Step 5: Click on Start Sale or Schedule Sale (depending on if we choose to start our sale right away or schedule it for a future date) to start or schedule the sale.
- Step 6: And we're done!
Upload CSV
Using the Upload CSV option, we can select products from the inventory manually by making use of Comma Separated Variables.
- Step 1: Download the sample file by clicking on Download Sample File.
- Step 2: Change the values in the SKUs column to select the desired SKUs that we want to be impacted by the sale.
Note:
If we are on a FREE plan, we can select up to 15 SKUs to put on sale in total. For instance, if we put 10 SKUs in our current sale, we can put 5 SKUs in the next sale. To select more than that we have to upgrade our plan.
- Step 3: Now save the CSV file and upload it by clicking on Upload File.
- Step 4: And we're done! Now we can set the discount amount in the Price Update Type section and schedule the sale in the Scheduling option.
